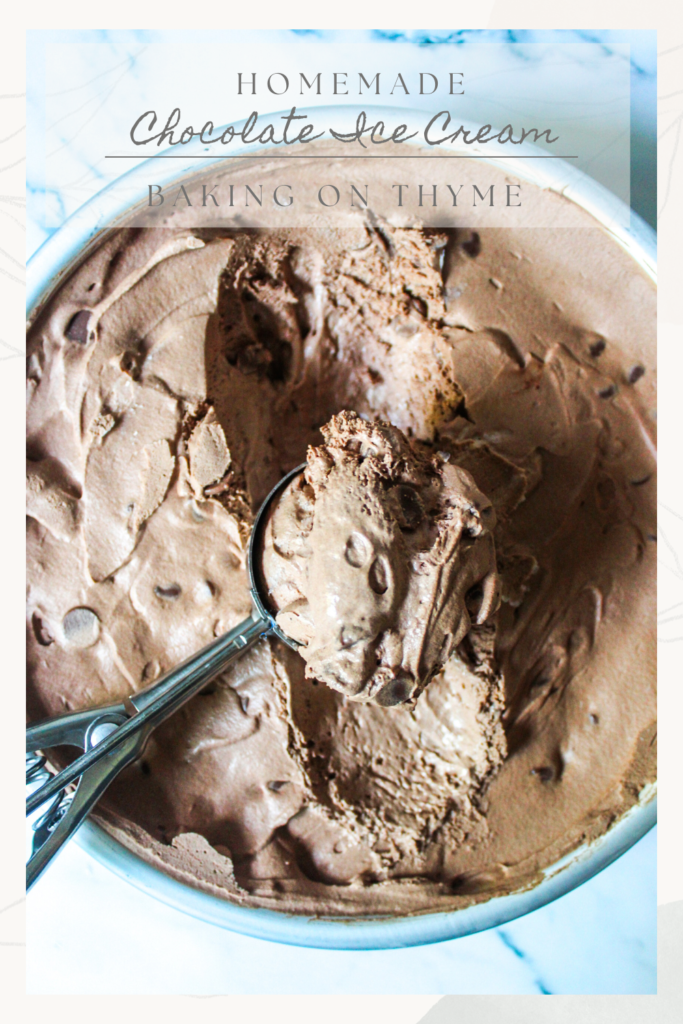
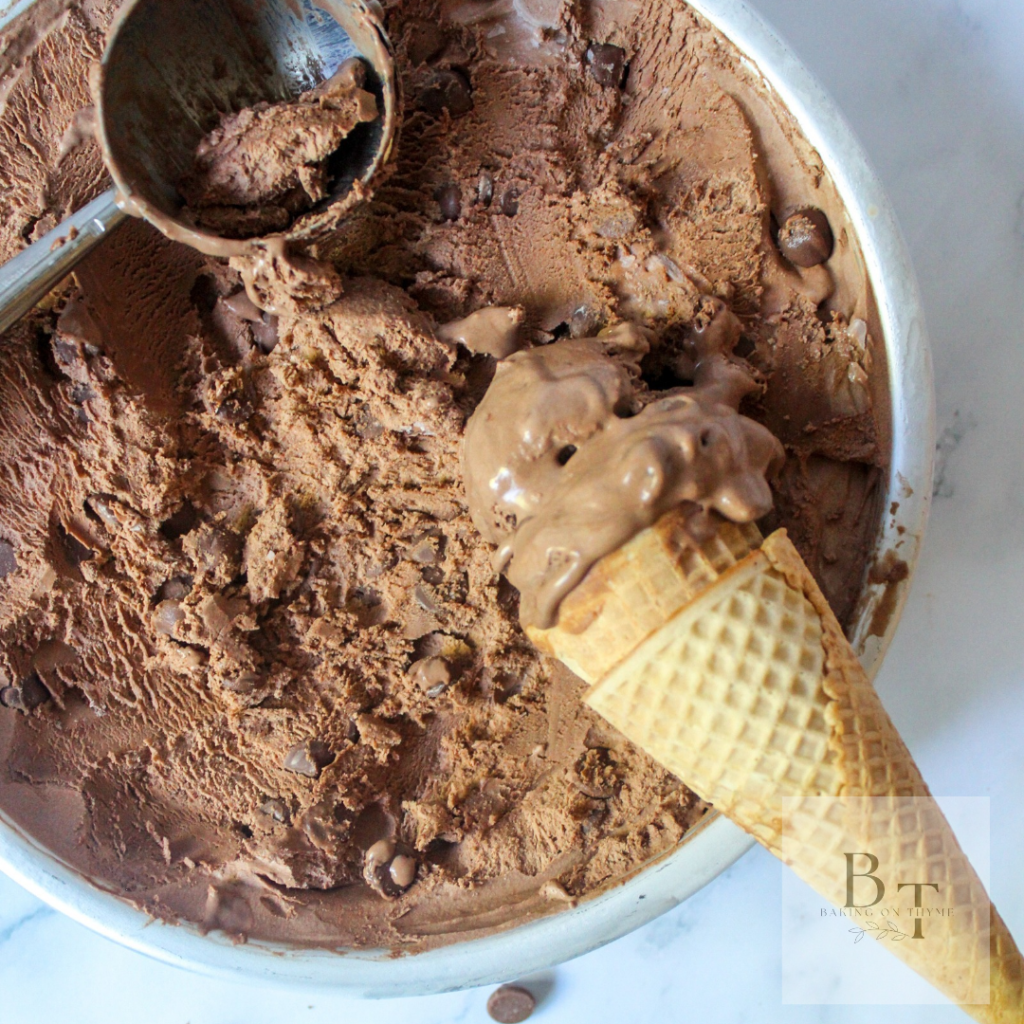
Homemade Chocolate Ice Cream
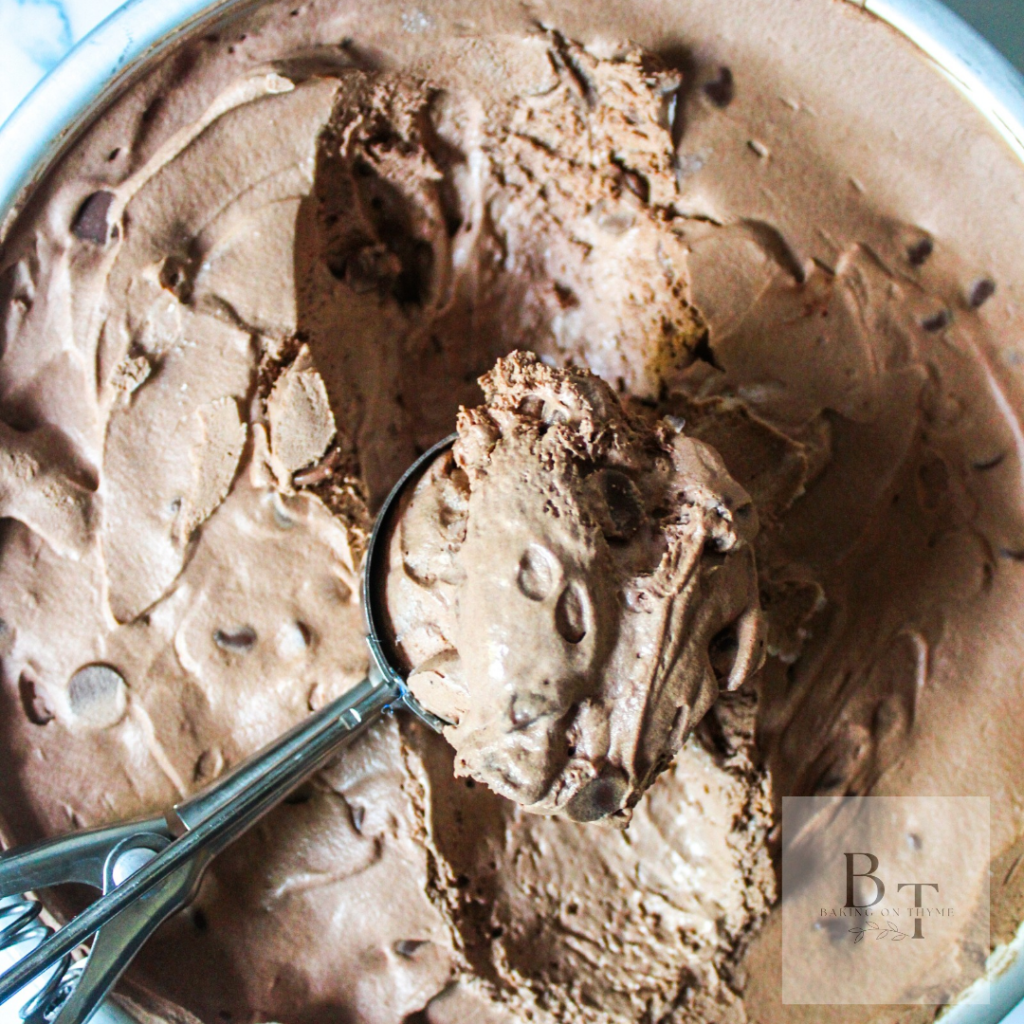
Treat yourself to a creamy and heavenly dessert with Homemade Chocolate Ice Cream. Easy to make, and utterly delicious!
Homemade Chocolate Ice Cream
This no churn homemade creamy ice cream is easy to prepare, and requires very little ingredients.
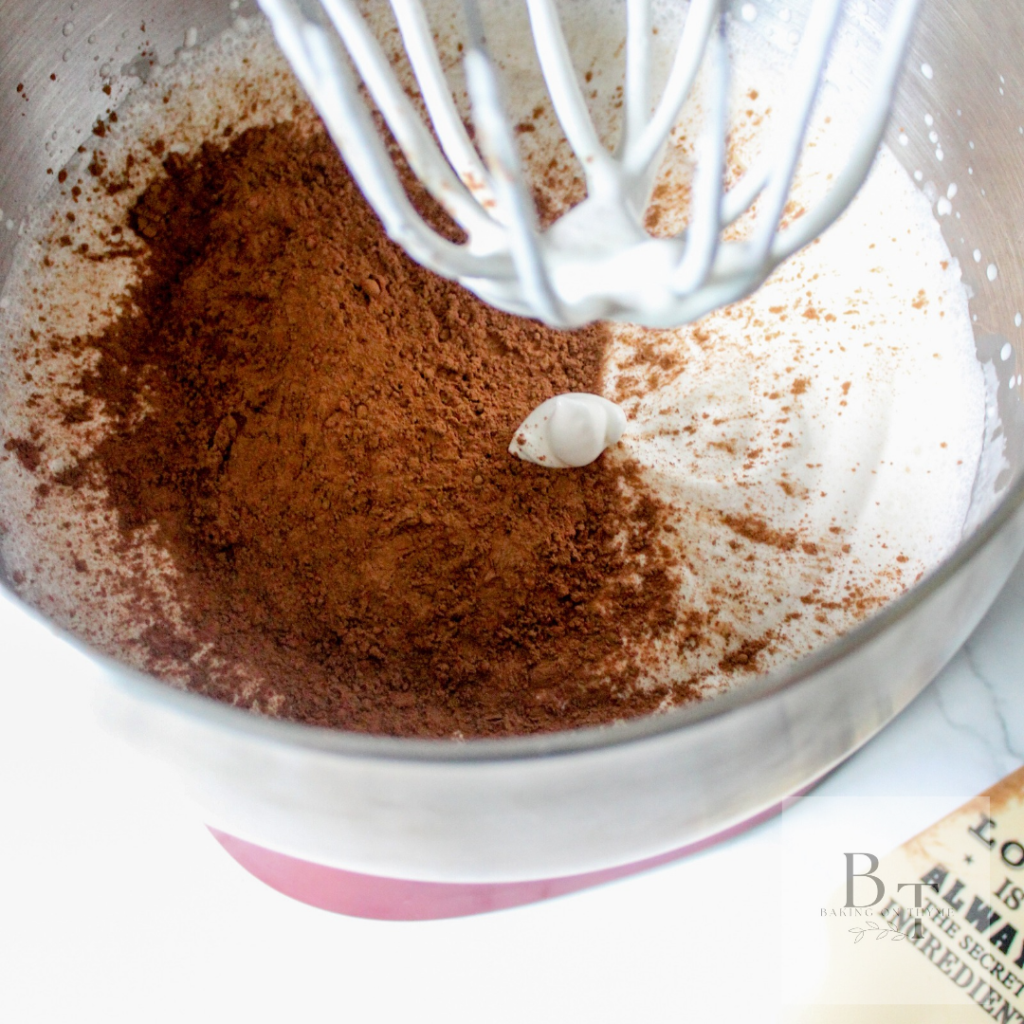
First, in a stand mixer pour two cups of cold whipping cream and whip on high speed for about ten minutes.
You want to achieve stiff peaks here.
Next, pour the condensed milk, vanilla extract, chocolate chips, and cocoa powder. Fold the ingredients in using a spatula.
Be careful here – you don’t want to over mix and deflate your whipping cream.
Finally, pour the ice cream mix into a loaf pan or a cake pan, smooth the top, cover with saran wrap or tin foil and freeze for about four- five hours or overnight.
It is that simple! You will be left with delicious Homemade No Churn Chocolate Ice Cream
What Does Lactose Free Mean?
First and foremost, I try my best to incorporate lactose free ingredients in all my recipes. These ingredients can include, butter, milk, cream cheese etc. With that being said, sometimes it is hard to make an entire recipe using ALL lactose free ingredients. For example, my ice cream recipes include, condensed milk- NOT LACTOSE FREE.
Contrary to what some may believe, lactose – free is not the same as dairy free. Lactose – free still contains milk, however, there is a certain component, I believe a type of sugar (I may be wrong) where the lactose is removed from dairy, making it lactose – free. Dairy free on the other hand, contains ZERO milk. Alternatives for dairy free are almond milk, oat milk, soy milk etc. You can learn more about the differences here.
Which Ingredients Are Lactose Free?
- Whipping cream – I used Natrel lactose – free whipping cream.
Why You Will Love Homemade Chocolate Ice Cream Recipe!
- This ice cream recipe is rich and creamy.
- This homemade ice cream recipe only requires five ingredients to make.
- This Homemade Chocolate Ice Cream does not require an ice cream machine. All you need is a stand mixer or hand mixer.
- This recipe is packed with chocolate flavor.
- You can make this Homemade Chocolate Ice Cream with the entire family.
Recipe At A Glance:
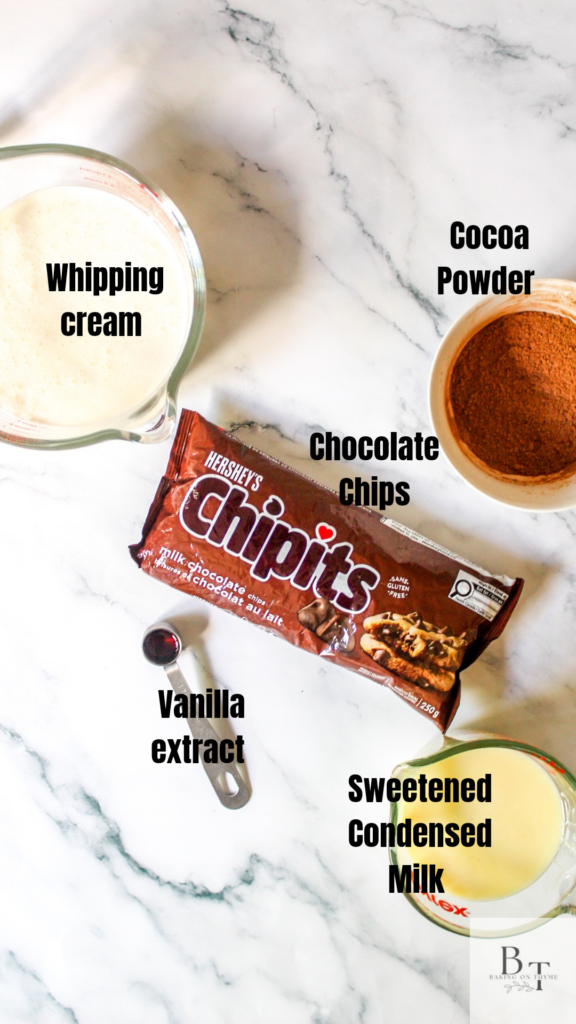
Whipping cream: You will need two cups of whipping cream. I used lactose – free whipping cream.
Sweetened condensed milk: You will need the entire cam of sweetened condensed milk.
Cocoa Powder: You will need half a cup of cocoa powder. I used Hershey’s brand.
Vanilla extract: You will need one tbsp.
Salt: You will need one tsp of salt for taste. (Optional)
Chocolate Chips: You will need at least half the bag or more.
Be sure to scroll to the bottom of the page to see the recipe card for the full recipe details.
Equipment Needed:
Spatula: For mixing.
Measuring Spoons and Cup: For accurate measurements.
Stand Mixer with a Mixing Bowl: For the ingredients.
Cake or Loaf Pan: For the ice cream.
To get similar posts delivered to your email, join and subscribe. Share your thoughts below if you’ve tasted these delicious Homemade Cookie Monster Ice Cream .
Step By Step Instructions:
Step One:
Gather all your ingredients, measure everything then set aside.
Step Two:
Pour two cups of cold whipping cream into the stand mixer bowl. Mix on high speed until stiff peaks are achieved.


Tip: Cold whipped cream will whip faster. Add the stand mixer bowl in the freezer for about ten minutes before mixing the whipped cream.
Step Three:
Pour in sweetened condensed milk, vanilla extract, chocolate chips and cocoa powder. Using a spatula, fold in the added ingredients into the whipped cream.
Tip: avoid over mixing the batter. Mix just enough until everything is fully incorporated.
Step Four:
Pour the Homemade Chocolate Ice Cream batter into a loaf pan or a cake pan. Freeze the ice cream for about four hours or even better – overnight!
Step Five:
Once the ice cream is fully set, scoop the ice cream in a bowl or ice cream cone and serve!

Did you make these Homemade Chocolate Ice Cream? leave a star rating and review below. This helps other readers and helps with supporting my blog ! To stay up to date with the newest recipes, join my email list and be sure to follow me on Pinterest
Storing And Freezing Homemade Chocolate Ice Cream:
Freeze the ice cream in the freezer for four hours or overnight before serving. Homemade Chocolate Ice Cream will last up to two weeks in the freezer.
Be sure to cover the loaf or cake pan with saran wrap or tin foil while in the freezer to avoid any ice crystals.
Frequently Asked Questions?
What can I use instead of a stand mixer?
An electric handheld mixer works just as well. Using a whisk and mixing with your hand works as well, but will require a lot of fast mixing.
Do I need to use lactose – free whipping cream?
Absolutely not! Using lactose free ingredients is a personal preference. You can use whatever works for you -Greek yogurt is a great substitute.
What if my ice cream is hard to scoop?
If the ice cream is hard to scoop, allow the ice cream to sit at room temperature for about five – ten minutes before scooping. You can also run the ice cream scoop in hot water before scooping.

Homemade Chocolate Ice Cream Tips and Variations
- Use cold whipping cream for faster whipped cream.
- Cover the ice cream with saran wrap or tin foil to avoid ice crystals.
- Fold the ingredients using a spatula but be careful not to overmix the batter.
- Add crushed nuts for that extra crunch
- Instead of vanilla extract, try almond extract or coconut extract.
- Instead of whipping cream, another great substitute is Greek yogurt.
More Delicious Recipes!
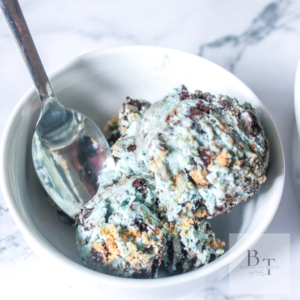
If you enjoyed my Homemade Chocolate Ice Cream have a look at my Cookies and Cream Ice Cream recipe or my Reese’s Peanut Butter Ice Cream. You can even try my Cookie Monster Ice Cream as well.
Thank you for reading my post today! Comment below if you have any questions or if you’ve tried my Homemade Chocolate Ice Cream.
Hopefully baking brings you joy and happiness as it does for me and my family!
Keep Baking on Thyme!
Jas.
P.S. Subscribe to my blog to receive notifications whenever I post.
Homemade Cookie Monster Ice Cream
Equipment
- Spatula
- Measuring spoons and cup
- Stand Mixer with bowl and paddle attachment
- Cake or Loaf Pan
- Large Ziploc bag
Ingredients
- 2 cups Whipping cream
- 1 can Sweetened condensed milk
- 1 pack Chocolate chip cookies
- 1 pack Oreo Cookies
- 1 tbsp Vanilla extract
- 1 tsp Salt Optional
- 3 drops Blue food coloring
Instructions
- Gather all your ingredients, measure everything then set aside
- Pour two cups of cold whipping cream into the stand mixer bowl. Mix on high speed until stiff peaks are achieved.
- Pour in sweetened condensed milk, vanilla extract, and blue food coloring. Using a spatula, fold in the added ingredients into the whipped cream.
- Add the Oreo cookies and Chocolate Chip Cookies into a Ziploc bag and seal the bag. Using a rolling pin, crush the cookies until you are satisfied with the size of the cookies.
- Add the cookies to the bowl and fold in using a spatula.
- Pour the Homemade Cookie Monster Ice Cream batter into a loaf pan or a cake pan. Freeze the ice cream for about four hours or even better – overnight!
- Once the ice cream is fully set, scoop the ice cream in a bowl or ice cream cone and serve!